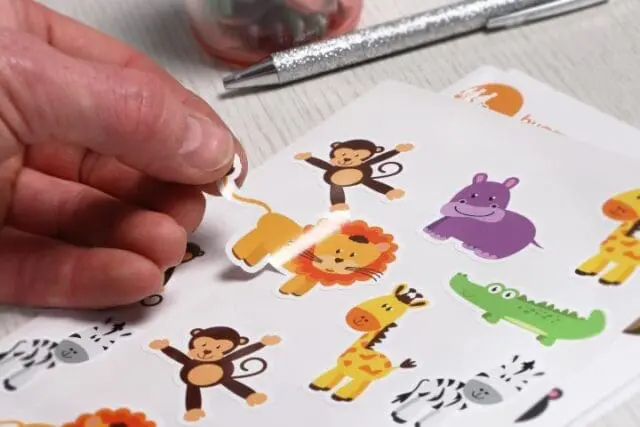
Custom Window Stickers


Custom printed high quality stickers for use on glass
We print window stickers in all shapes and sizes. Companies use custom vinyl window stickers for creating brand awareness. They are widely used for web-based accreditation or comparison sites, branding, restaurant and hotel guides, as well as by retail outlets for use in their Point of Sale and products or services promotions.
Window stickers (also known as glass stickers) are reverse-printed graphics that adhere to the inside of a glass shop window and can be viewed from the outside. They are frequently used in shops, offices and even homes.
Window sticker and window clings features:
- Waterproof, long lasting and durable
- High quality PVC vinyl material
- Choice of permanent or removable adhesive, or static cling (no residue) – window clings
- Custom cut to any shape
- Custom sizes
- Solid background
- High resolution single sided digital print
- Double sided – available on request
- Easy to apply
Quantities – smaller quantities can be priced and ordered online, for larger volumes please contact our team for prices.
We’re here to help if you have any queries or if you’d like some advice about your sticker requirements just call our team today on 01347 823 230.
Instant sticker quote and online ordering
There are many uses & types of window stickers including:
Static cling / Static window film
Additional options on request include:
- Double sided stickers
- Screen printed window stickers
- Printed backing paper in black or full colour
- Multiple designs
- Sequential numbering or permit references
- Screen printed gold and silver
- Large format and oversized stickers
- Transparent background
- Underpinned in white or flooded backing white
Do you put window stickers on the inside or the outside
When applying stickers, whether they go on the inside or outside of the glass depends on various factors, including the type of sticker (window sticker or vinyl sticker) and its purpose.
- Inside Placement (window stickers – the adhesive is on the same side as the image):
- Clear Visibility: Window stickers placed on the inside are shielded from weather elements and tend to have a longer lifespan. This placement is ideal for stickers meant to be viewed from the outside, such as business hours, promotions, or decorative designs.
- Interior Protection: Placing window stickers inside safeguards them from outdoor elements like rain, wind, and UV rays, preserving their appearance over time.
- Outside placement (vinyl stickers – the adhesive is on the back of the image):
- Exterior Visibility: Vinyl stickers placed on the outside of the glass window, ensure visibility from a distance, making them suitable for storefront advertisements or directional signs. This placement maximizes their visibility to passersby.
- Weather Resistance: While exterior placement exposes vinyl stickers to weather conditions, high-quality outdoor-grade vinyl stickers are designed to withstand elements like rain, sunlight, and wind for long-lasting durability.
Consider these factors carefully when choosing between window stickers for inside placement and vinyl stickers for outside placement to achieve the desired impact and longevity.
Adhesive window frosting
Transform your windows with our custom frosted window stickers! They are perfect for adding a touch of elegance and privacy to any space. These stickers are ideal for offices, retail stores, and other commercial environments. Our frosted window stickers provide a sleek, modern look while maintaining the functionality of your windows.
Frosted window stickers, also known as adhesive window frosting, are made from high-quality materials that ensure a lasting and stylish finish.
Frosted window sticker features:
- High-quality PVC vinyl material: Ensures a premium, frosted appearance that complements any decor.
- Easy to apply and remove: Simple installation and removal without any mess or residue.
- Custom printed in all sizes and quantities: Tailored to fit any window, big or small, with precise customisation to match your design specifications.
- Can be cut to any shape: We can create any design to suit your needs, from intricate patterns to simple shapes.
Applications:
- Privacy enhancement: Ideal for conference rooms, or any space where privacy is needed without sacrificing natural light.
- Decorative touch: Adds a stylish and modern look to your windows, enhancing the aesthetic appeal of your space.
- Branding and promotions: Perfect for businesses to display logos, promotions, or decorative elements in a subtle yet effective manner.
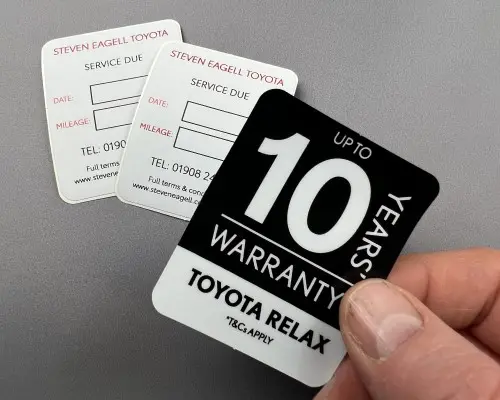
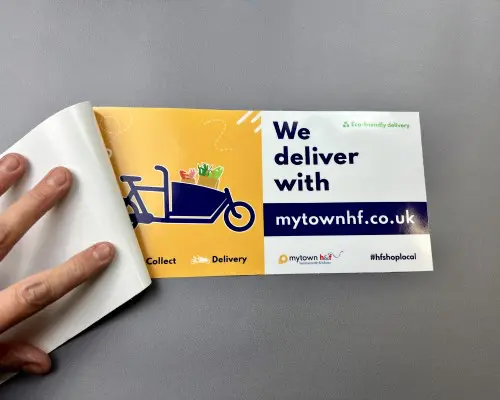
Custom printed double sided window stickers
You can depend on Edge for custom printed double sided window stickers. Common uses of window decals include: service and MOT reminders, parking permits, membership and charity awareness.
Sticker features:
- Permanent or removable adhesive
- Custom shape cut
- Can be printed with the same or different designs on each side
- High resolution print
- Water and weatherproof
- Can be used on any clean, grease-free window
We can custom print your double sided stickers in any shape, size and quantity. Get your fast estimate here.
Static window film
Do you need high-quality static cling window film? At Edge Stickers, we custom print static window films, perfect for a wide range of applications. Whether you’re planning a promotion, a sale, an event, or need temporary window graphics, our static cling window film is an excellent choice. They are easy to apply and remove, so are ideal for short-term promotions and temporary displays.
Why choose our static cling window film?
Our static window film is designed to offer high-quality, vibrant prints that can be easily applied to any clean, grease-free window surface. Here’s why our static cling window film is the best choice for your needs:
- Custom printing: Our static window film is custom printed to meet your exact specifications
- Custom sizes and shapes: We offer custom sizes and shapes to fit your specific requirements.
- No adhesive and easy application: Our static cling film adheres to glass surfaces without the need for adhesive, making it easy to adjust and reposition as needed, without leaving any residue.
- Reusable: Because it uses static cling, our removable window film can be reused for multiple events and promotions (as long as it is kept in a clean, dry, dust free environment).
- High-resolution print: Enjoy clear, crisp graphics with our high-resolution printing techniques.
- Durable and versatile: Suitable for a variety of applications, from storefronts and office windows to car windows and more.
Perfect for promotions and events
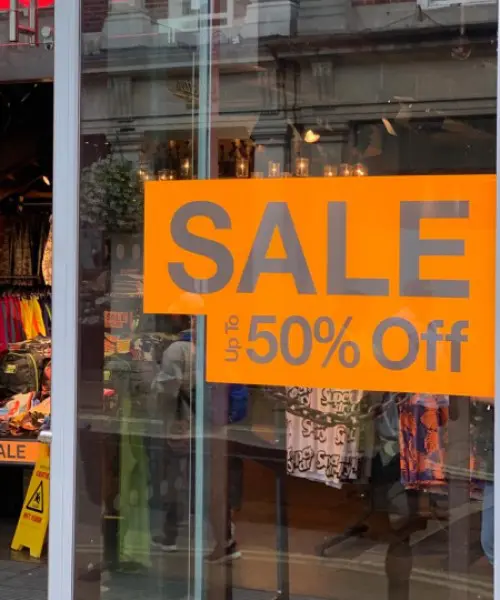
Our printed static cling window film is perfect for a variety of promotional needs, including:
- Sales: Highlight your sales with eye-catching window graphics.
- Events: Promote events with temporary yet professional-looking window displays.
- Short-term promotions: Ideal for seasonal offers and limited-time promotions.
- Temporary window graphics: Perfect for pop-up shops, trade shows, and other temporary setups.
- Membership or permit stickers: Great for short term or annual membership window stickers, that have a time period and can be easily removed when expired.


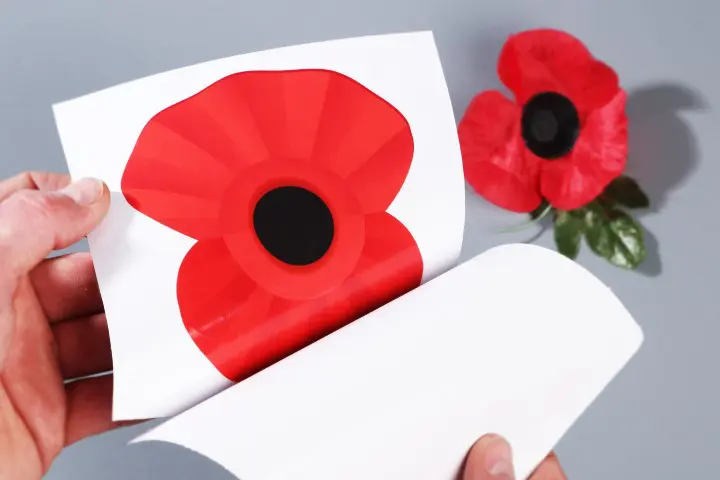
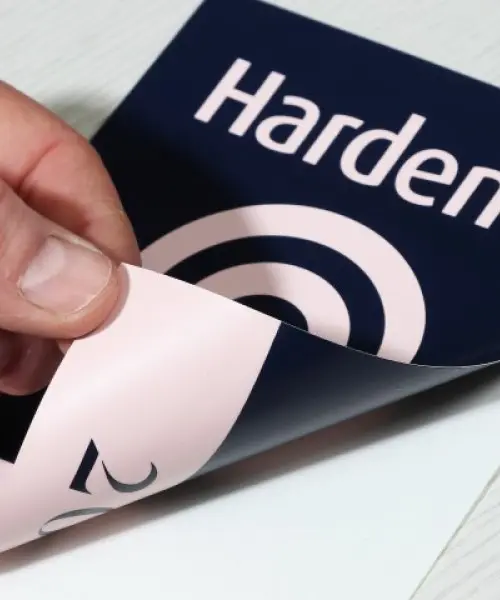
Removable window stickers
Enhance your space with our versatile and convenient removable window stickers!
Perfect for both personal and commercial use, these removable adhesive window stickers offer a flexible solution for temporary displays and promotions. Whether you’re updating your shop’s window display or hosting an event, our removable window stickers provide the ideal balance of quality and convenience.
Our removable window stickers, also known as glass stickers, are reverse-printed graphics designed to adhere to the inside of a glass window, providing a clear and vibrant display that can be seen from the outside. These stickers are widely used in shops, offices, homes, and other commercial spaces.
Removable Window Sticker Features:
- Waterproof, long-lasting, and durable: Built to endure various conditions while maintaining their visual appeal.
- High-quality PVC vinyl material: Ensures a bright, clear, and eye-catching display.
- Custom cut to any shape: We can create any design to suit your needs, from intricate logos to simple shapes.
- Custom sizes: Tailored to fit any window, big or small.
- Solid background: Provides a vivid and opaque display.
- High resolution single sided digital print: Ensures your designs are vibrant and highly visible.
- Double sided – available on request: Ideal for displays where visibility from both sides of the glass is needed.
- Easy to apply and remove: Simple installation and removal without any mess or residue.
- Quantities: Smaller quantities can be priced and ordered online. For larger volumes, please contact our team for competitive pricing.

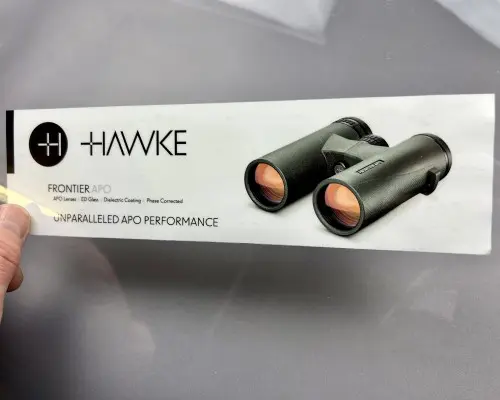
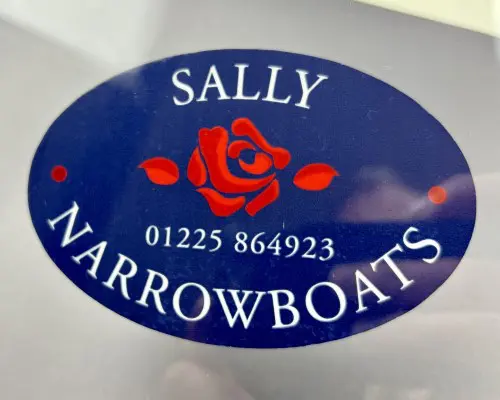
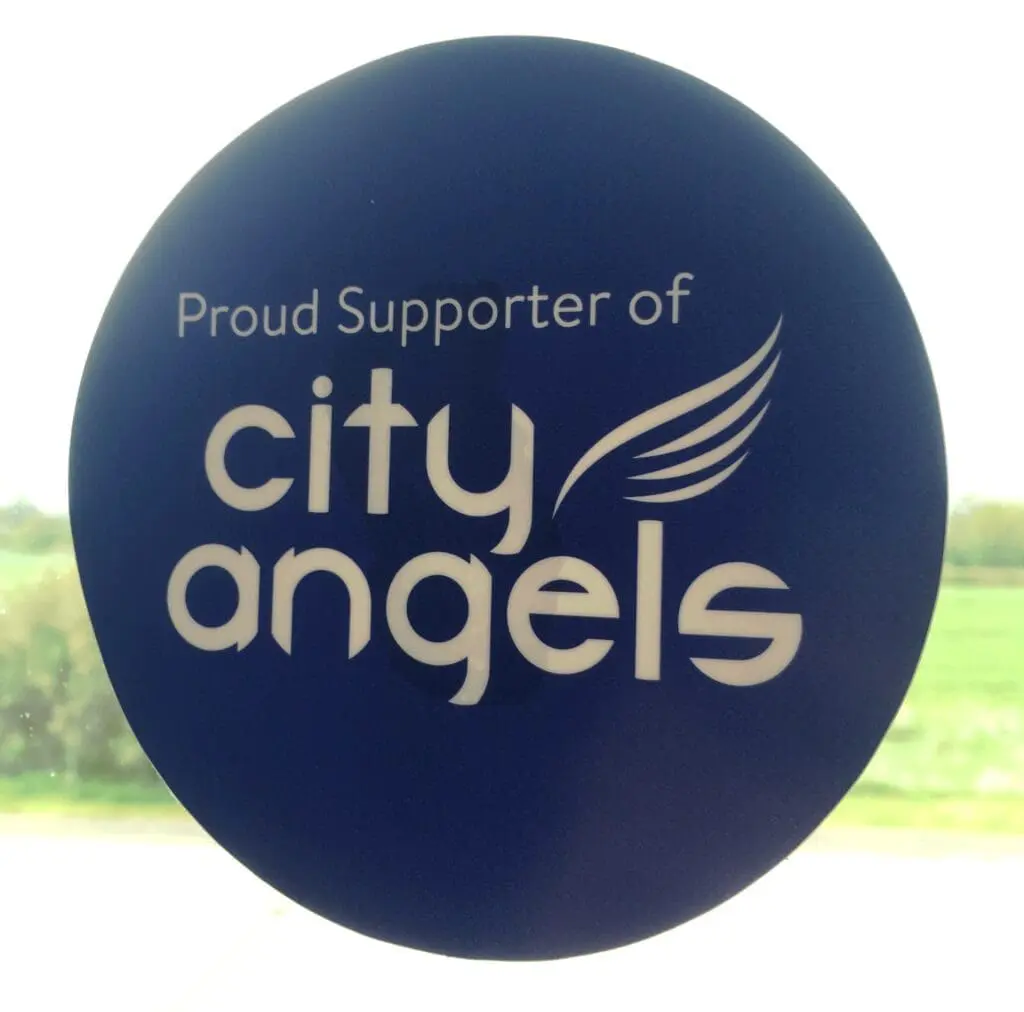
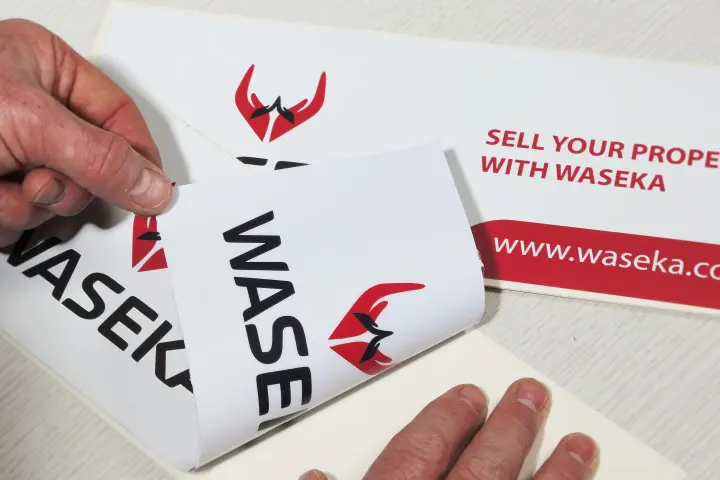
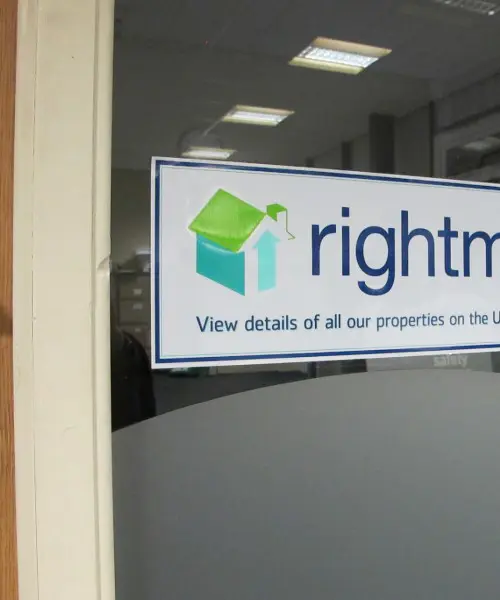
Shop window vinyl stickers
Custom printed shop window vinyl stickers to your exact design, colours, and size
Boost your store front’s appeal with our custom printed shop window vinyl stickers!
Perfect for promoting your brand, highlighting special offers, or adding decorative elements, these retail stickers are designed to catch the eye and draw in customers. Our high-quality window vinyls are ideal for retail stores, restaurants, and other commercial spaces looking to make a strong visual impact.
Our shop window vinyl sticker features:
- High-quality PVC vinyl material: Ensures a bright, clear, and professional appearance.
- Easy to apply and remove: Simple installation and removal – permanent, removable and static cling options available.
- Custom printed in all sizes and quantities: Tailored to fit any shop window, big or small, with precise customisation to match your design specifications.
- Can be cut to any shape: We can create any design to suit your needs, from logos and text to intricate patterns.
Applications:
- Brand promotion: Perfect for displaying your window logo, business name, or brand messages prominently on your shop windows.
- Sales and promotions: Highlight special offers, discounts, or new arrivals with eye-catching window graphics to attract customers’ attention.
- Decorative elements: Add stylish and thematic shop window graphics to enhance the visual appeal of your shop window display stickers.
- Information display: Provide essential information such as opening hours or contact details, through clear and professional window graphics.
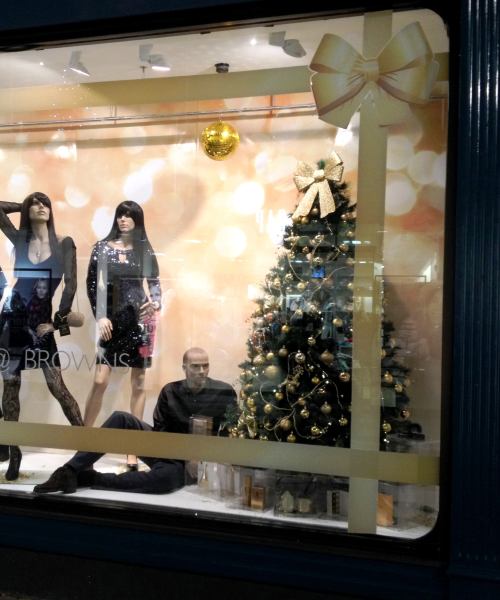
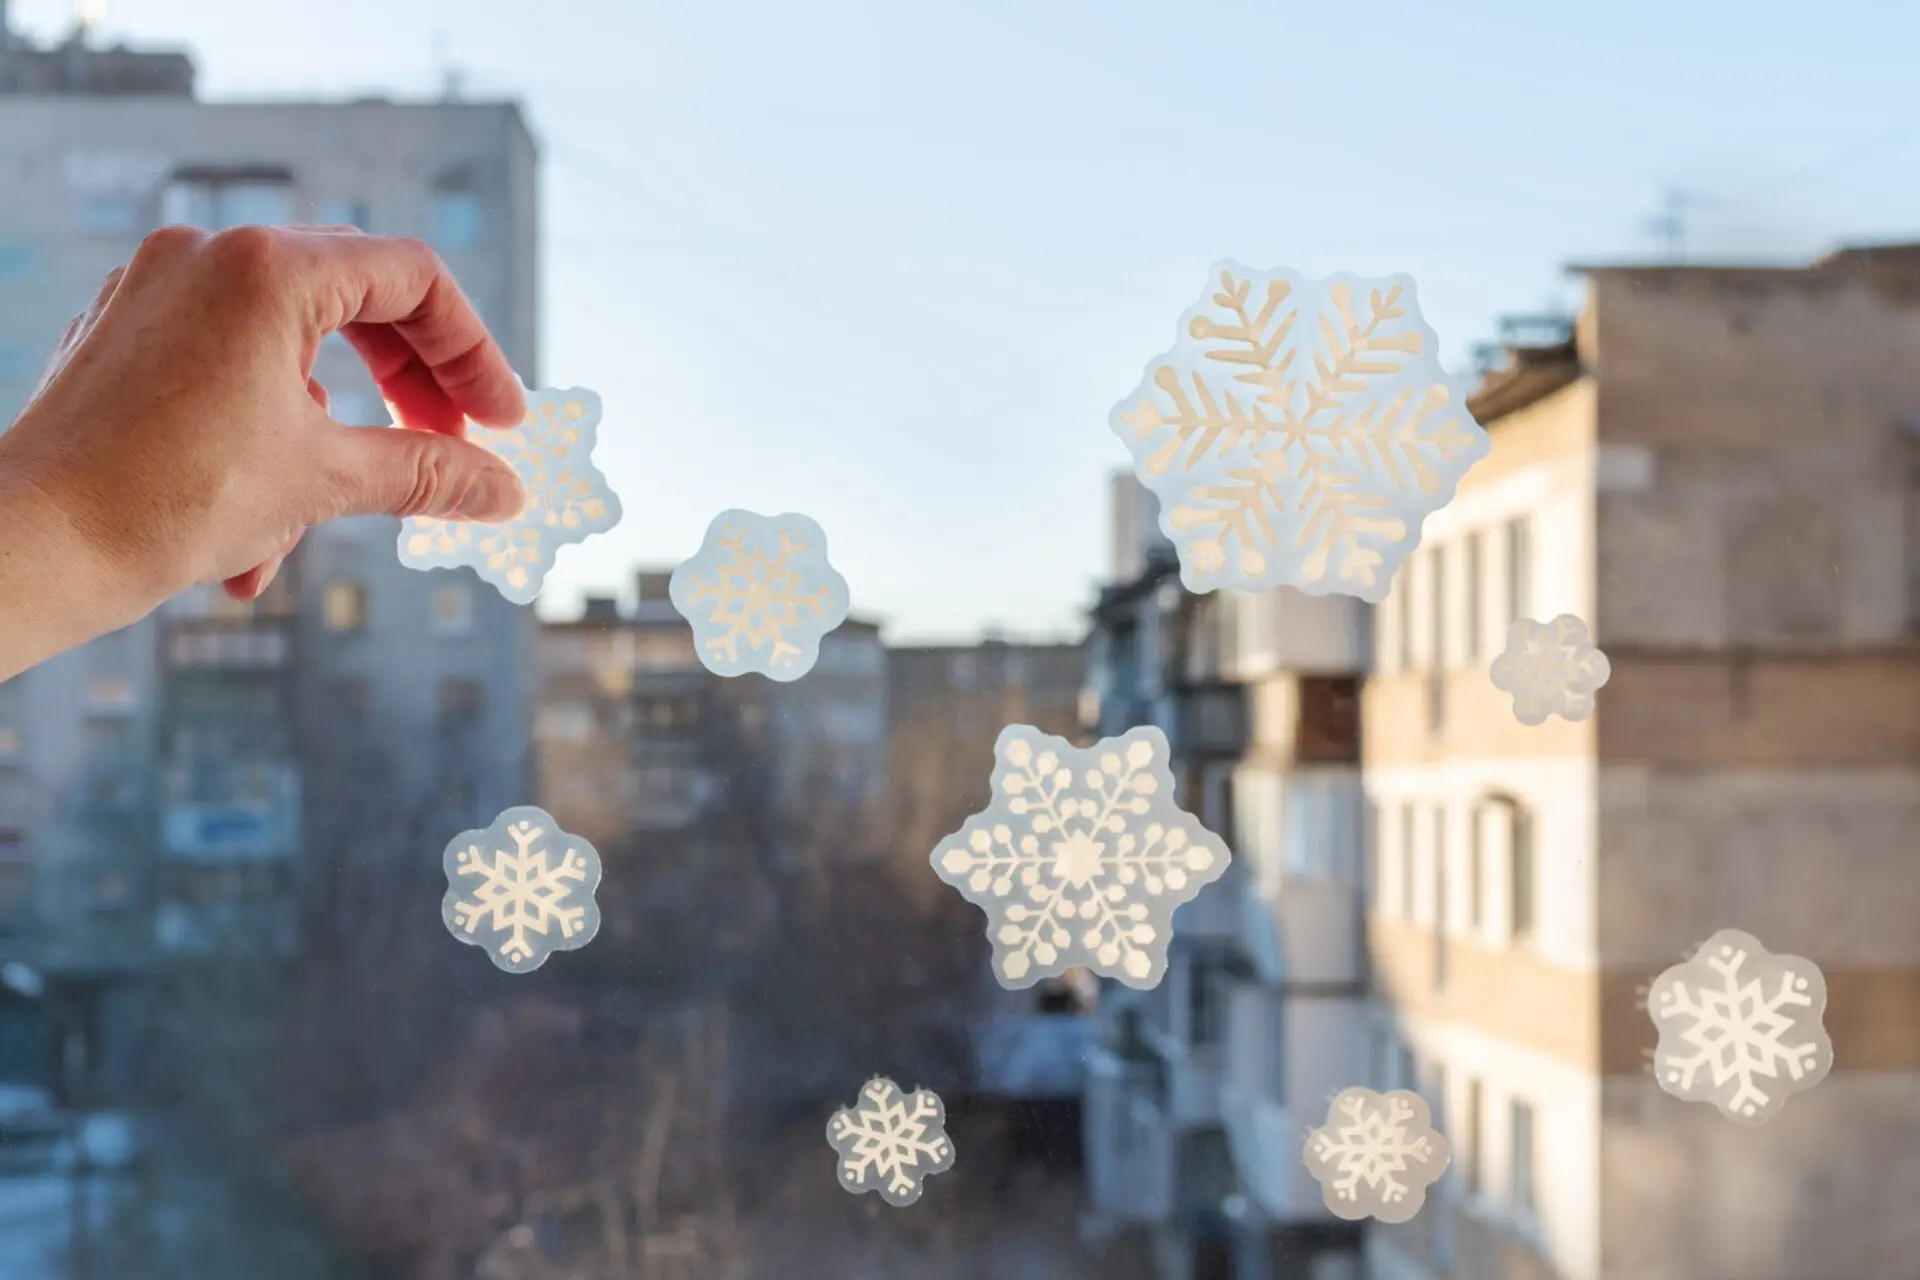
Christmas window stickers
Bring the holiday spirit to your home or business with our custom Christmas window stickers! These stickers are perfect for adding a festive touch to your windows. These decals are ideal for commercial use. Whether you’re looking to create a cosy festive atmosphere, promote seasonal sales in store, or decorate your office for the festive season, our Christmas window stickers are the perfect solution.
Our Christmas window stickers are reverse-printed graphics that adhere to the inside of a glass window, providing a vibrant display that can be viewed from the outside.
A few ideas of stickers for shop windows include:
- Christmas tree window stickers
- Baubles stickers – small and large
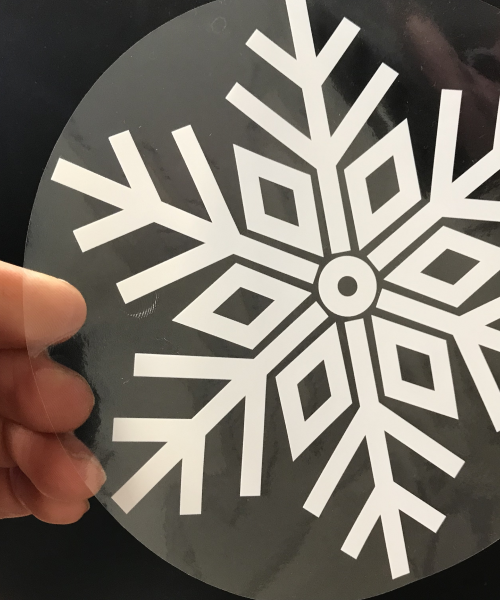
- Snowflakes – white printed on transparent vinyl
- Large Santa window sticker
- Christmas sale window display graphics
- Merry Christmas
Christmas Window Sticker Features:
- Waterproof, Long-Lasting, and Durable: Designed to withstand the winter elements and keep your windows looking festive all season long.
- High-Quality PVC Vinyl Material: Ensures a bright, clear, and eye-catching display.
- Choice of Adhesives: Available with permanent or removable adhesive, or static cling (no residue) – perfect for temporary seasonal displays.
- Custom Cut to Any Shape: From classic Christmas trees to playful snowmen, we can create any festive shape you desire.
- Custom Sizes: Tailored to fit any window, big or small.
- Solid Background: Provides a vivid and opaque display.
- High Resolution Single Sided Digital Print: Ensures your designs are vibrant and visible.
- Double Sided – Available on Request: For those who want their designs visible from both inside and outside.
- Easy to Apply: Simple to install and remove without any mess or residue.
- Quantities: Order smaller quantities online, or contact our team for larger volumes and bespoke pricing.
Other stickers you might like:
We offer an express delivery service.
Don’t worry if you’ve left it to the last minute to order, call us on 01347 823 230 to discuss your requirements and arrange a fast turnaround and delivery.
If you would like to receive a vinyl window sticker sample, please message [email protected] with your postal address.
Please note the samples are pre-printed and are not samples of your artwork. These are available on request but will be chargeable.
Uses and Application
Window stickers are great at creating awareness of your message or brand and are widely used by web-based accreditation or comparison sites, company branding, restaurant and hotel guides, as well as by retail outlets for use in their Point of Sale and sales promotions.
Here are some examples of uses:
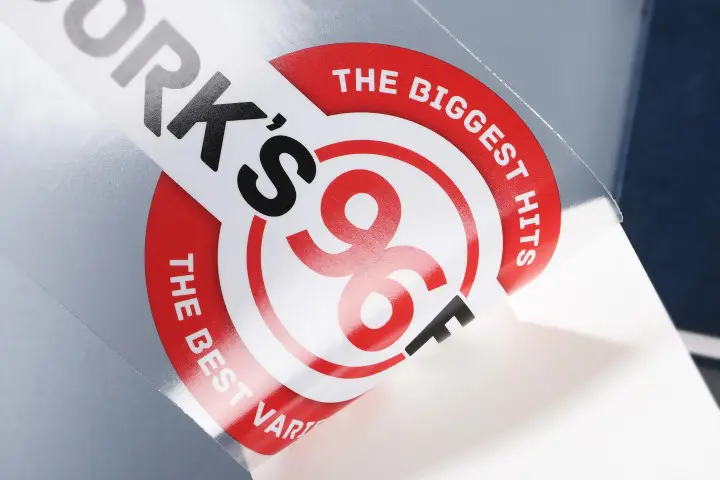
- To advertise radio station frequencies and other media
- Car dealership promotion
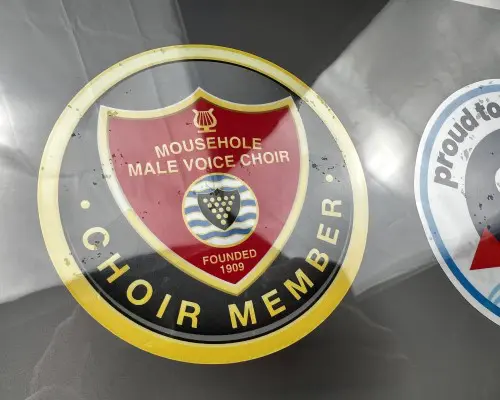
- Advertise membership of societies, clubs, organisations and groups
- Events and shows
- Car parking permits
- Insurance companies
- MOT testing stations and breakdown companies
- Very popular with charities as a free giveaway when donating to create awareness
- Spread a campaign message and create awareness
Size Guidelines
We make your bespoke order to virtually any size, quantity or shape. They can be produced up to 1500mm in width and to any length.
Custom window sticker printing in pantone colour matched, CYMK full colour, or metallic inks
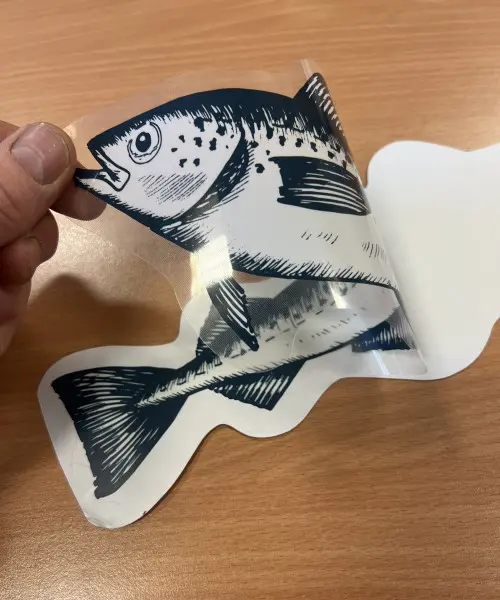
These are carefully printed onto transparent self adhesive vinyl, with a peel off backing paper. They are designed to stick to the inside of a glass window surface, to be viewed from the outside. It would appear that the artwork is printed on the ‘sticky’ side, but in reality, this isn’t the case.
Once your artwork has hit our production line it is mirror printed backwards onto the non sticky surface side of a clear self adhesive sheet. Next, a solid white or background colour is laid all across the back of the design. Once the item is trimmed to its finished size or shape, it is ready to use. Once peeled off it’s backing paper, the colourful design is revealed. The artwork is seen through the adhesive and the clear film of pvc. The print is actually on the other side of the sticker, but is seen clearly since it was printed onto transparent vinyl.
Backing paper print
Not only can the self-adhesive vinyl display your design, but we also offer you the option to print onto the backing paper.
This can be used to provide more information, or to further enhance your promotion, such as a discount voucher or a sponsorship opportunity.
White backing
Window decals are reverse-printed onto a transparent vinyl. Whilst we do not have to add a white backing we do strongly recommend adding a solid white underlay so the image appears strong, without becoming translucent.
We can also personalise your job with a custom shaped backing if required (again please call or email us to discuss these options).
Making the cut – size and shape options
Our machines can cut to just about any size or shape. Although most vinyl stickers are guillotined to rectangular or square shapes, we offer a variety of ways of giving you the choice of custom shapes. As you expect from one of the UK’s leading sticker companies, we have a full range of guillotining, die cutting, forme cutting and cad cutting equipment. It’s this array of the best print finishing equipment that enables us to produce high quality sticker in any colour, size, shape or quantity that you wish.
How are custom window stickers made?
Not all window stickers are actually ‘stickers’, as some of them work without any adhesive, but nevertheless the printing process is the same regardless of which type of material is used.
So first of all, let’s see how the printing part works…
Although you’d probably imagine that the plastic is printed, and then the ‘sticky’ is coated onto the print, it doesn’t actually work like that. Window stickers start life as a clear plastic film, (with or without an adhesive layer). The clear plastic film comes already with a paper or thin card backing paper. If it is a true ‘sticker’, the glue holds the backing paper in position. If it’s a self-cling sticker, the film ‘clings’ to the shiny backing paper on its own.
On to the exposed side of the clear film, the artwork is printed in reverse, mirror -image, wrong-reading, or however you want to describe it. Over this reverse printed artwork, a solid, usually white, solid layer of ink is printed, trapping the artwork print underneath it. So, when the sticker is peeled off it’s backing, the print is revealed.
What you’re actually looking at is the print, through the thickness of the clear film, and through the clear glue..(in the case of a ‘sticker’) Clever, but very simple! As you’ll see, the printing part of the process has nothing to do with the actual type of ‘sticker’ you would like to produce. Care needs to be taken to work out how ‘sticky’ the customer would like the sticker to be, or how long they want it to remain on the window.
At this point the correct choice of material is necessary. If the window sticker is a temporary or promotional graphic, that only needs to remain in place few a matter of days or weeks, then a static ‘self cling’ pvc might be the material of choice. This is a soft, shiny highly plasticised clear film that sticks to the window without any glue or adhesive. The great advantage of this material is that it can be easily removed without leaving any mess behind on the glass. It’s also easy to apply, as you can simply have another go, if you get it wrong the first time!
If the sticker or graphic needs to remain in place for a longer spell, but you’d still like it to come off later, then you might choose a clear self adhesive vinyl with a removable adhesive. This is basically a thin clear film with a thin coating of adhesive that holds it in place on the glass. It’s easy to peel off for the first part of it’s life, but does stick harder the longer you leave it in position!
For long term stickers and graphics, then a clear self adhesive vinyl with a permanent adhesive should be used.
Apart from the obvious advantages of a nice long useful lifespan, be careful putting these type of stickers on…you only get one chance, and it’s very easy to get air bubbles trapped underneath, that will look terrible for ever more!
Download our artwork guidelines to ensure your custom stickers are produced exactly as expected.
Artwork is uploaded during the ordering process, however If you have any questions regarding your designs or would like us to check your artwork, prior to ordering, please contact us on 01347 823 230 or email your artwork to [email protected].
Orders can be split over multiple designs as long as the dimensions of each design is the same.
For example, if you require 1000 stickers, split between a blue design and a red design, then you will select 2 from the Number of Designs option (use the option “Do you want you sticker order split over multiple designs?”) from the custom stickers order page.
This will allow you to maximise your quantity discount and avoid paying twice our minimum order charge.
By default we will split your order evenly over the number of designs (e.g. for 2 designs over 1000 stickers we will print each design 500 times). However, if you wish for us to split the sticker unevenly then please let us know by entering comments in the comment field during the order process.
Our team can be contacted via:
- Online chat (in the bottom right of the screen)
- Telephone: 01347 823 230
- Email: [email protected]
- Contact us form
Office Hours: Monday – Friday 9.00am – 5.00pm (excluding bank holidays)
A Step-by-Step Guide to Applying Window Stickers
Applying window stickers can be a breeze with the right guidance. In this step-by-step guide, we’ll walk you through the process of applying window stickers like a pro.
Step 1: Gather Your Supplies
Before you begin, make sure you have everything you need:
- Window sticker
- Glass cleaner or mild detergent
- Lint-free cloth or paper towels
- Masking tape or painter’s tape
- Squeegee or credit card
- Scissors (if needed)
Step 2: Prepare the Surface
Ensure the window surface is clean and dry. Use glass cleaner or mild detergent to remove any dirt, dust, or grease. Wipe the surface with a lint-free cloth or paper towels to ensure it’s completely dry. This step is crucial for ensuring a smooth application and long-lasting adhesion.
Step 3: Position the Sticker
Carefully position the sticker on the window using masking tape or painter’s tape to hold it in place. Take your time to ensure it’s aligned correctly and where you want it to be. You can use a level to ensure the sticker is straight if needed.
Step 4: Apply the Sticker
Starting from one corner, slowly peel off the backing paper from the sticker. Use a squeegee or credit card to smooth out the sticker onto the window surface, working from the center outwards. Apply firm and even pressure to ensure there are no air bubbles or wrinkles.
Step 5: Final Touches
Inspect the sticker for any air bubbles or imperfections. If you notice any, use a pin or needle to puncture the bubble and then smooth it out with your finger or the squeegee. Take a step back and admire your handiwork!
Step 6: Let It Set
Allow the sticker to set and bond to the window surface for at least 24 hours before exposing it to any moisture or extreme temperatures. This will ensure maximum adhesion and longevity.
Step 7: Enjoy!
Once the sticker has fully set, stand back and enjoy the new addition to your window! Whether it’s a decorative design, business logo, or promotional message, your window sticker is sure to make a statement.
Applying window stickers doesn’t have to be daunting. With the right tools and technique, you can achieve professional-looking results every time. Follow these simple steps, and soon you’ll be a master at applying window stickers like a pro!
Time for a change? Removing your old window stickers so you can apply the new stickers can be a hassle-free process with the right approach. In this guide, we’ll walk you through the steps to safely and effectively remove window stickers without damaging your windows.
Step 1: Gather Your Supplies
Before you start, gather the following supplies:
- Hairdryer or heat gun
- Razor blade or plastic scraper
- Glass cleaner or mild detergent
- Lint-free cloth or paper towels
Step 2: Apply Heat
Use a hairdryer or heat gun to gently warm the window sticker. Hold the heat source a few inches away from the sticker and move it back and forth in a sweeping motion. The heat will soften the adhesive, making it easier to peel off the sticker.
Step 3: Peel Off the Sticker
Once the adhesive is warmed up, use your fingers or a razor blade/plastic scraper to gently lift the edge of the sticker. Slowly peel the sticker away from the window, taking care not to tear it or leave residue behind.
Step 4: Remove Residue
If any adhesive residue remains on the window after removing the sticker, dampen a cloth with glass cleaner or mild detergent. Gently rub the residue in circular motions until it loosens and comes off the window. Avoid using harsh chemicals or abrasive materials, as they can damage the glass.
Step 5: Clean the Window
After removing the sticker and adhesive residue, clean the window thoroughly with glass cleaner or mild detergent. Wipe the window surface with a lint-free cloth or paper towels to ensure it’s dry and free of any remaining residue.
Step 6: Final Touches
Inspect the window to ensure all sticker remnants and adhesive residue have been removed. If you notice any stubborn residue, repeat the cleaning process or use a commercial adhesive remover if necessary. Once the window is clean, step back and admire the spotless surface!
Removing window stickers can be a straightforward task with the right tools and technique. By following these simple steps, you can safely and effectively remove window stickers without leaving behind any damage or residue.
Some of the brands we work with, or on behalf of